MickvdsJuly 24, 2019, 1:13am
G’day everyone.
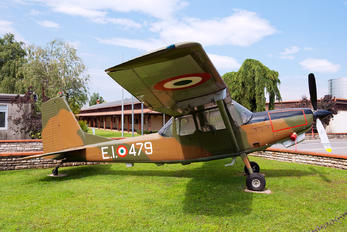
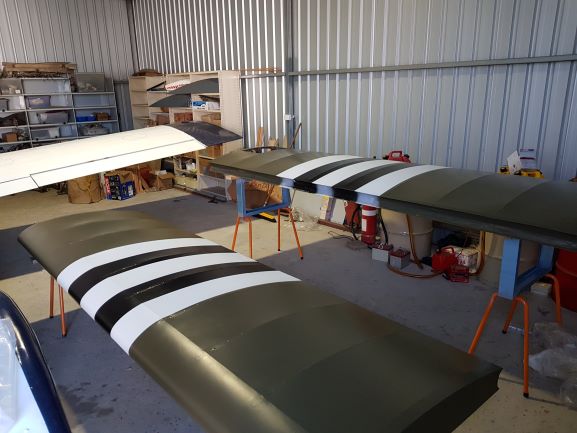
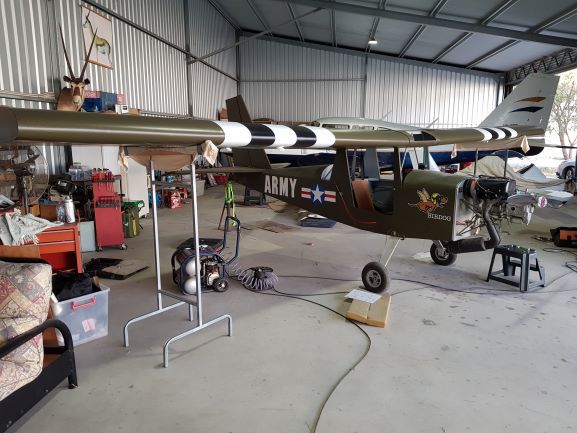
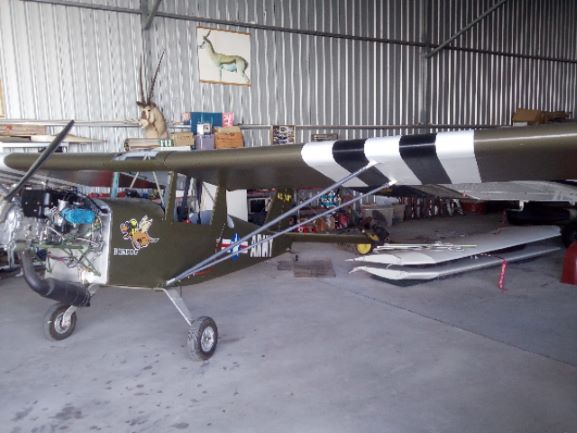
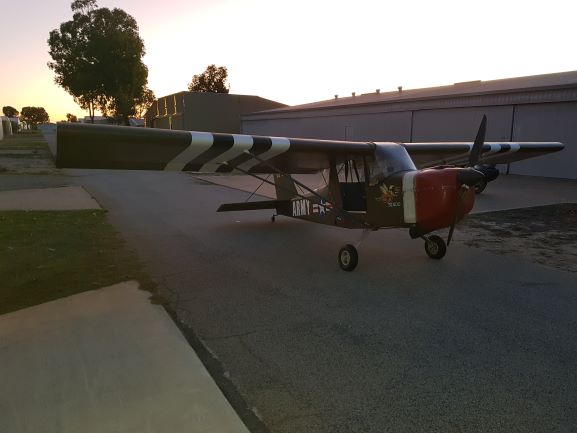
A bit of an update on the Birdog build here in Western Australia.
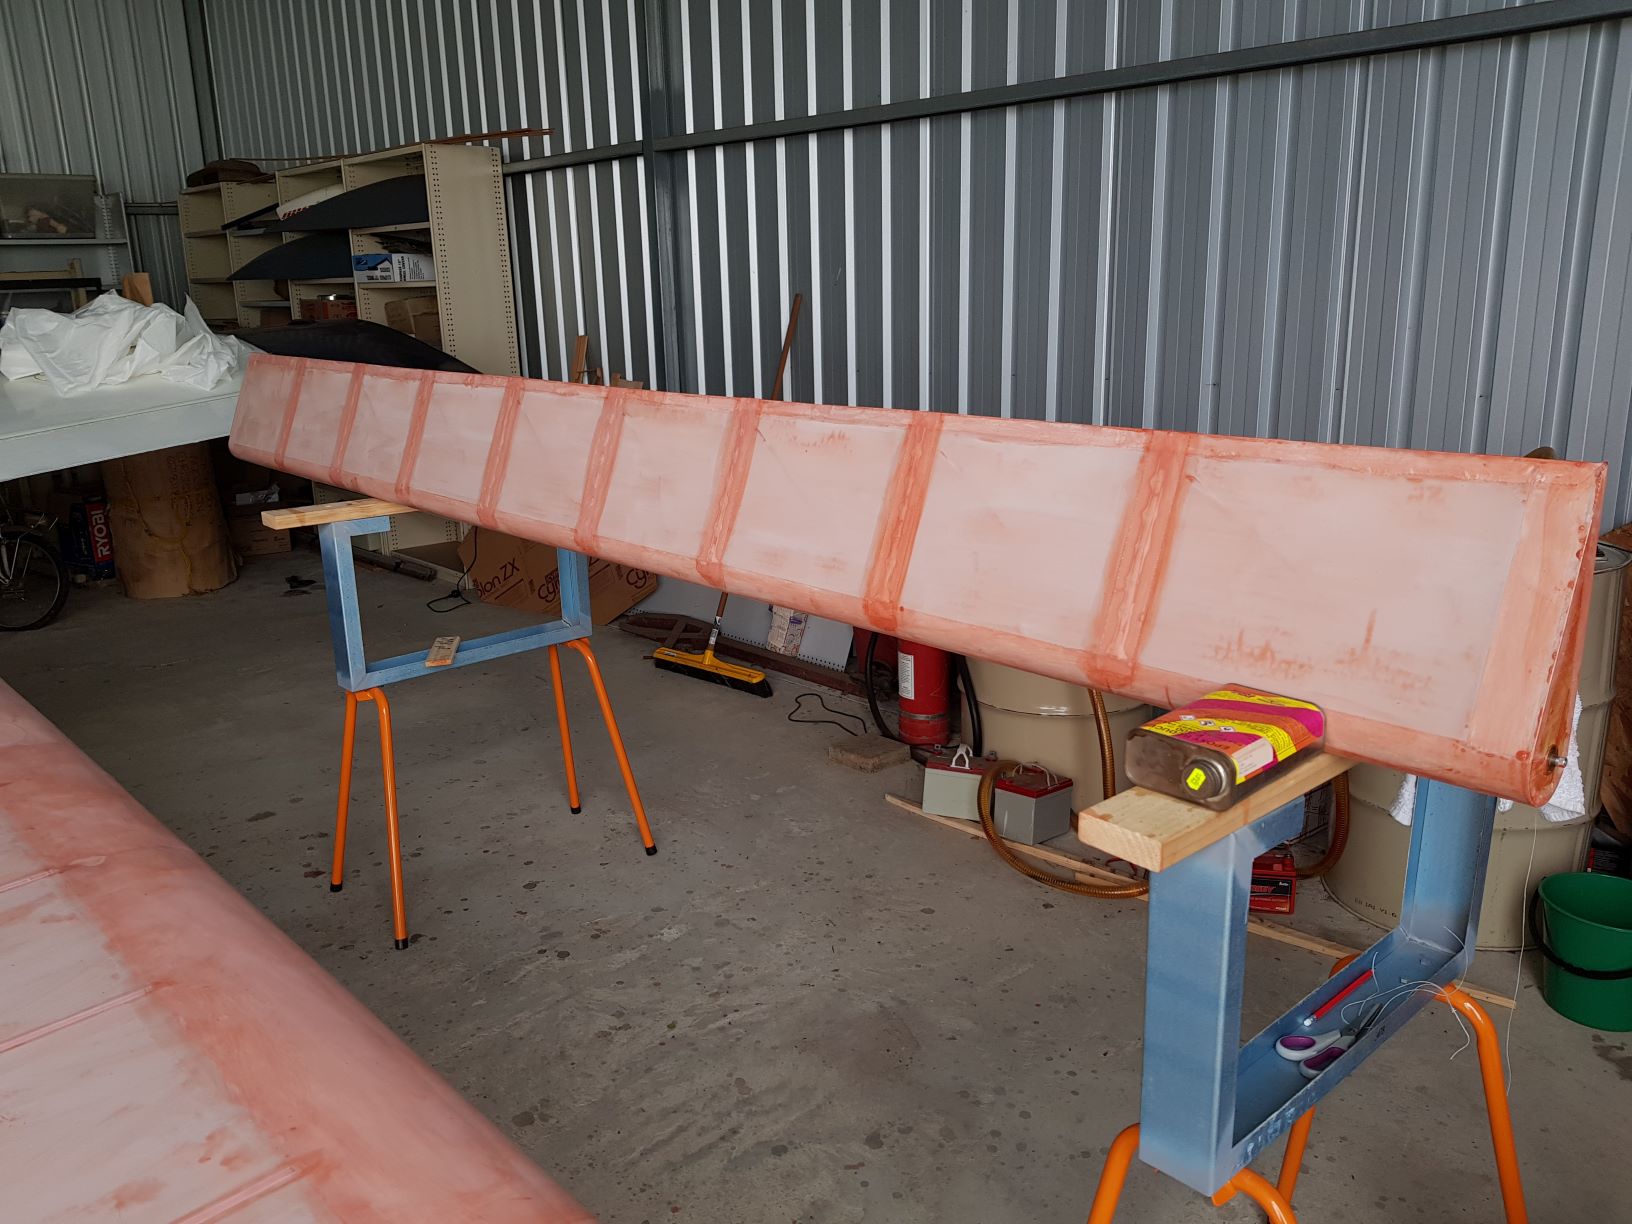
The l/h aileron has been the focus of our efforts and we are almost there.
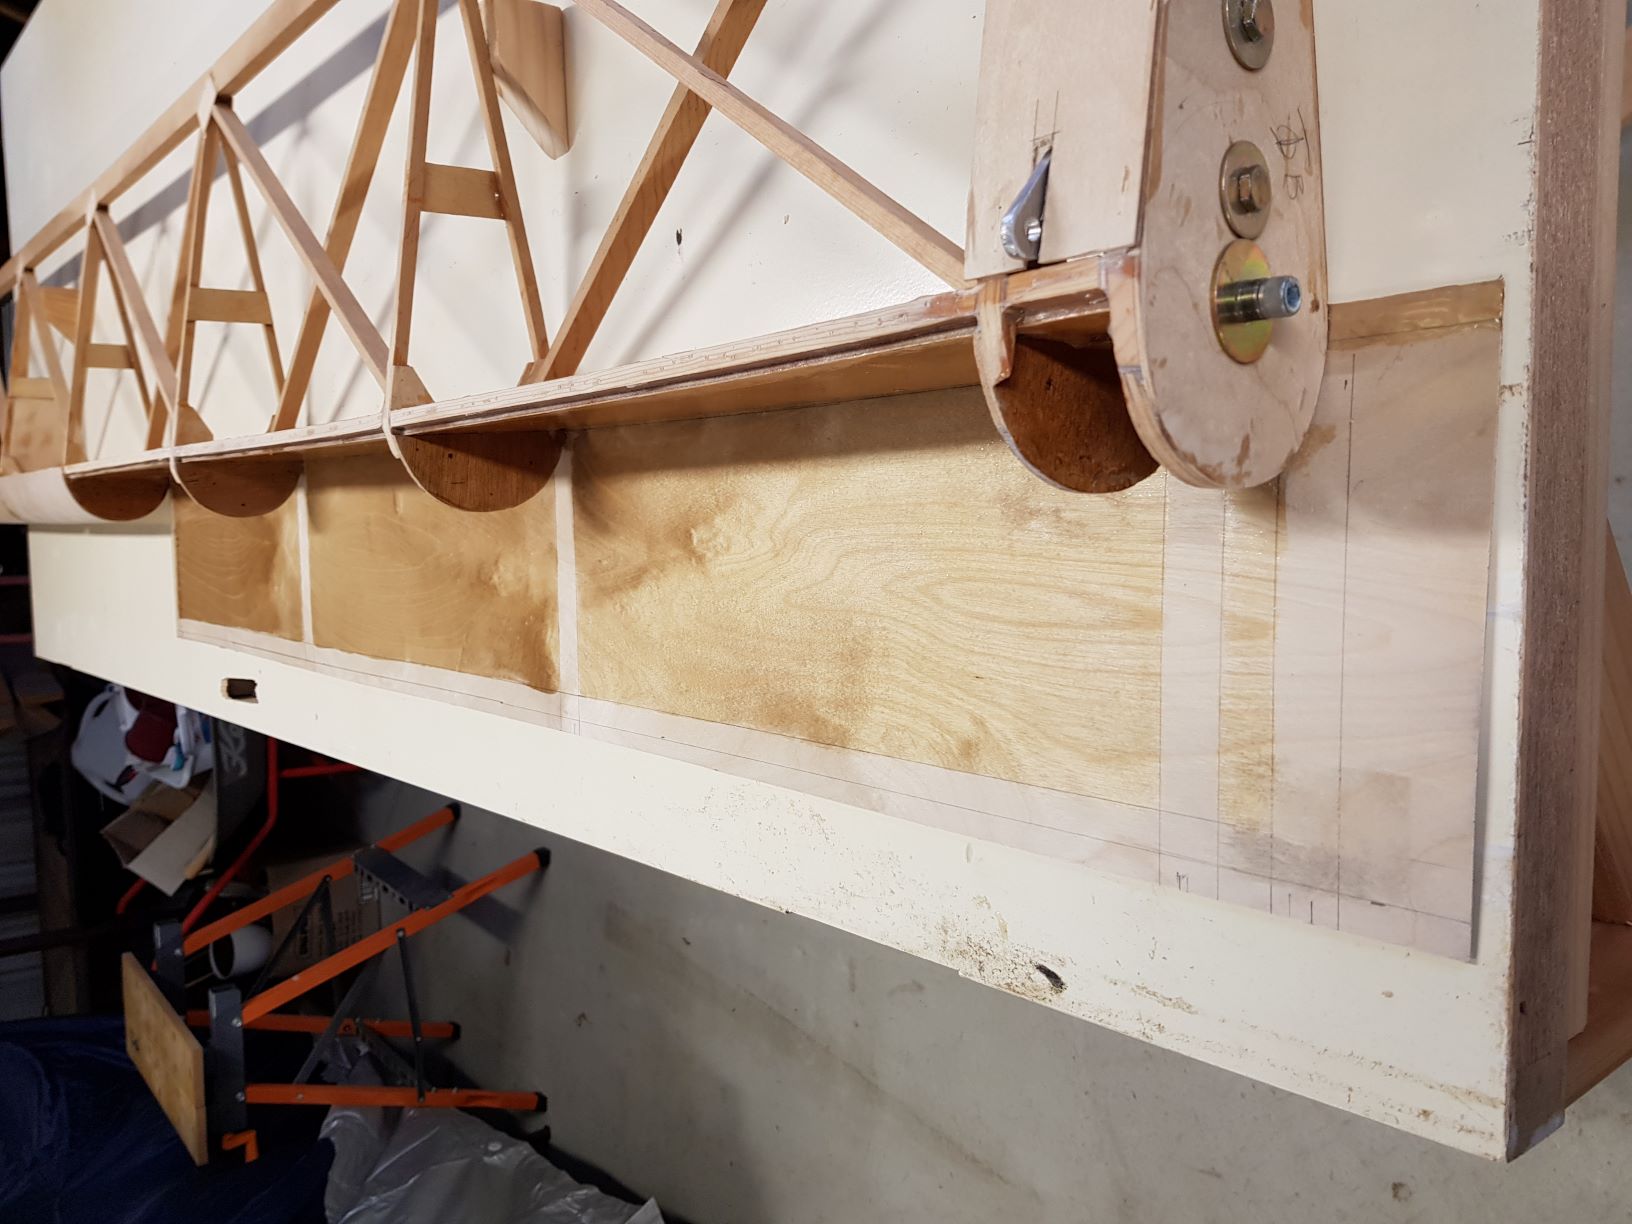
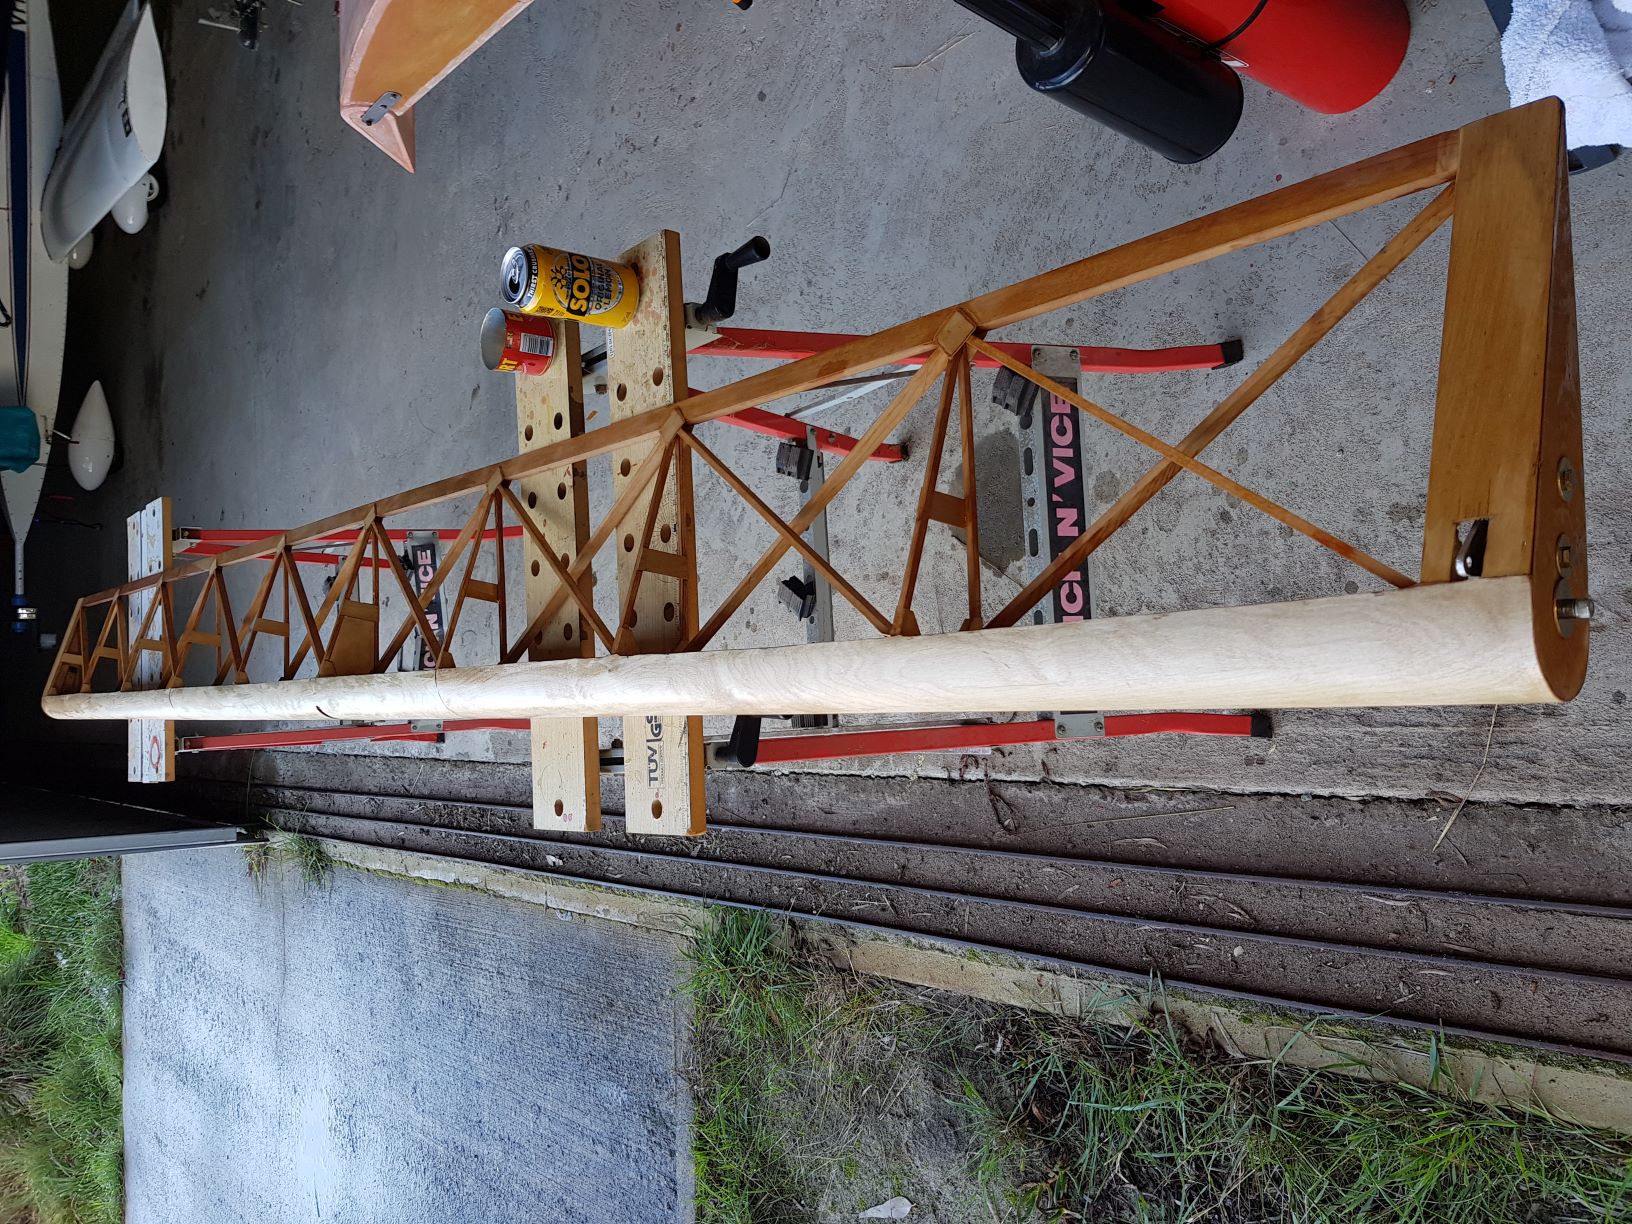
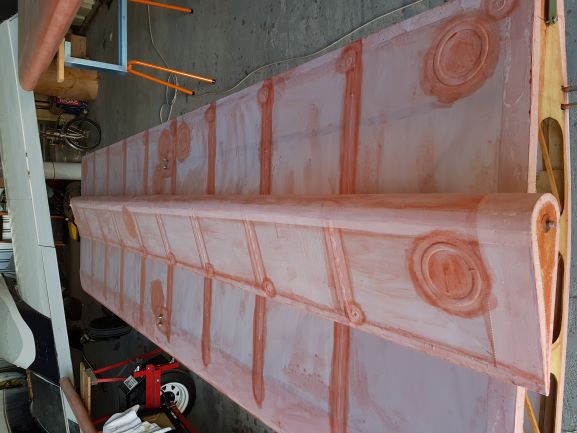
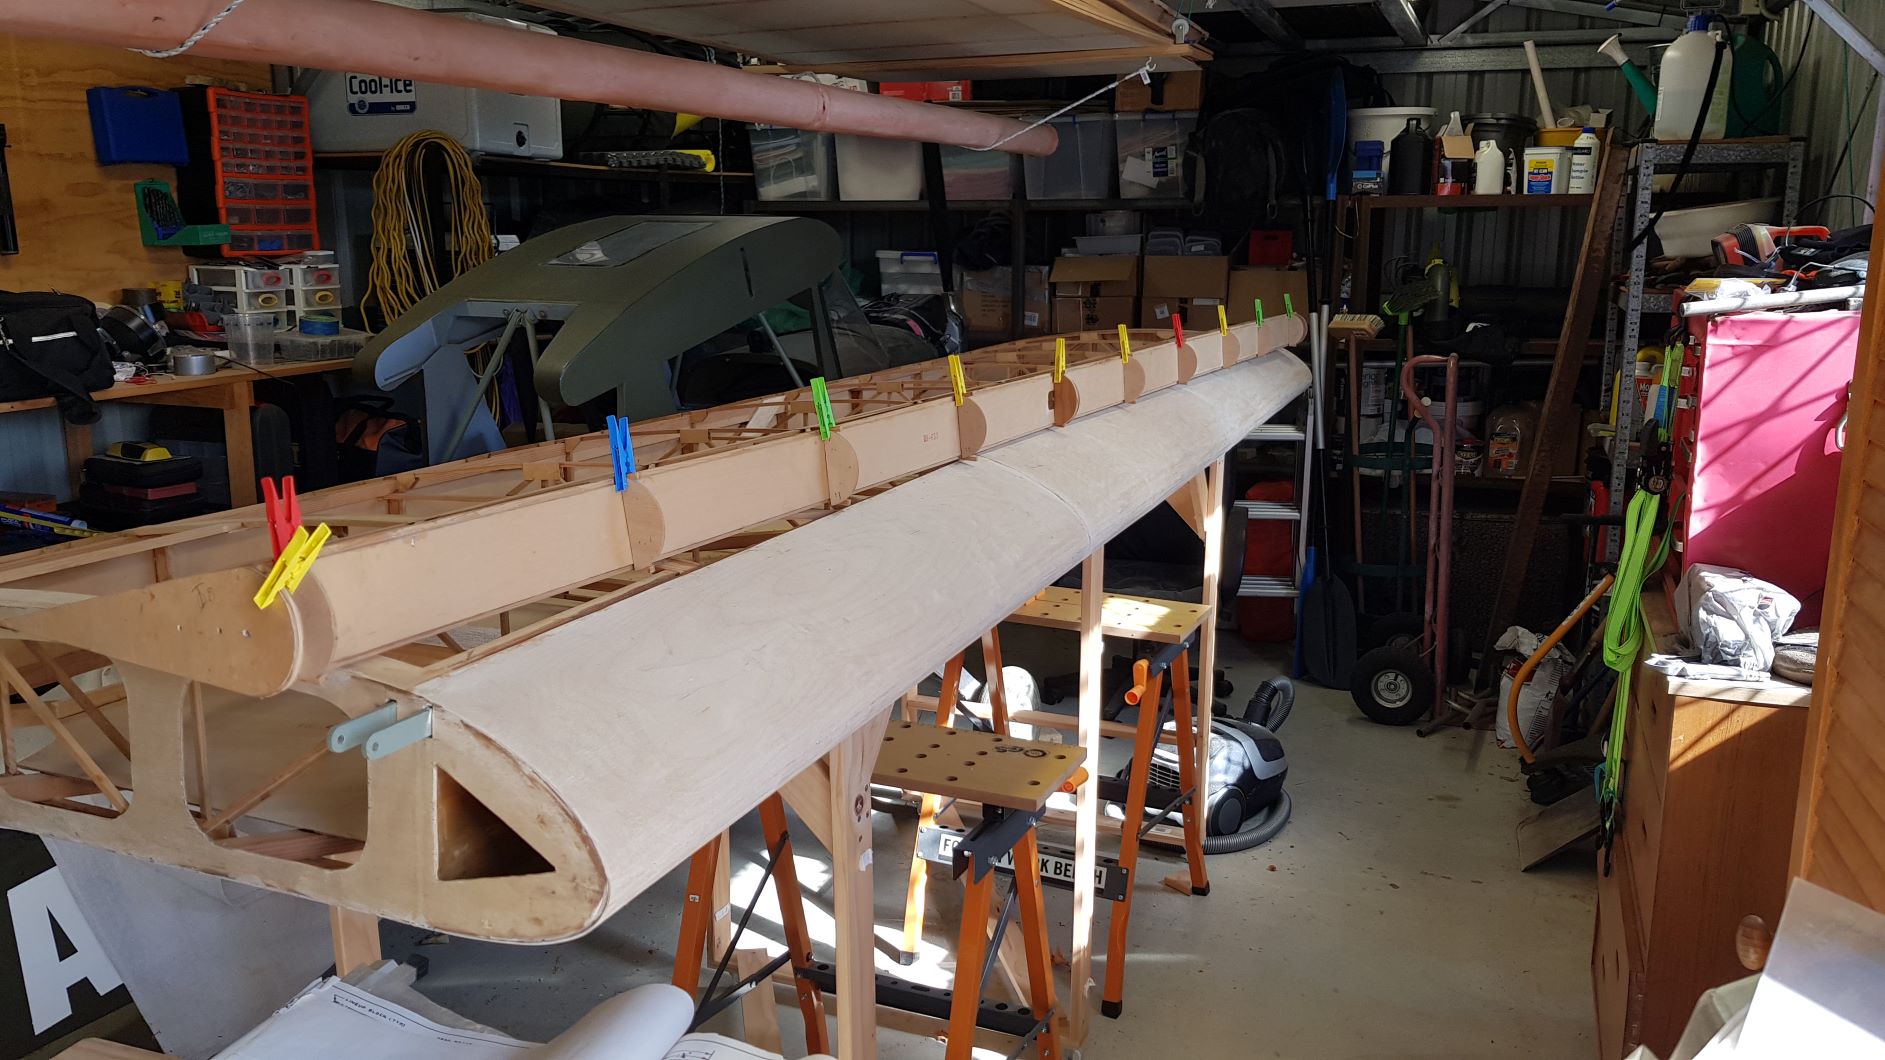
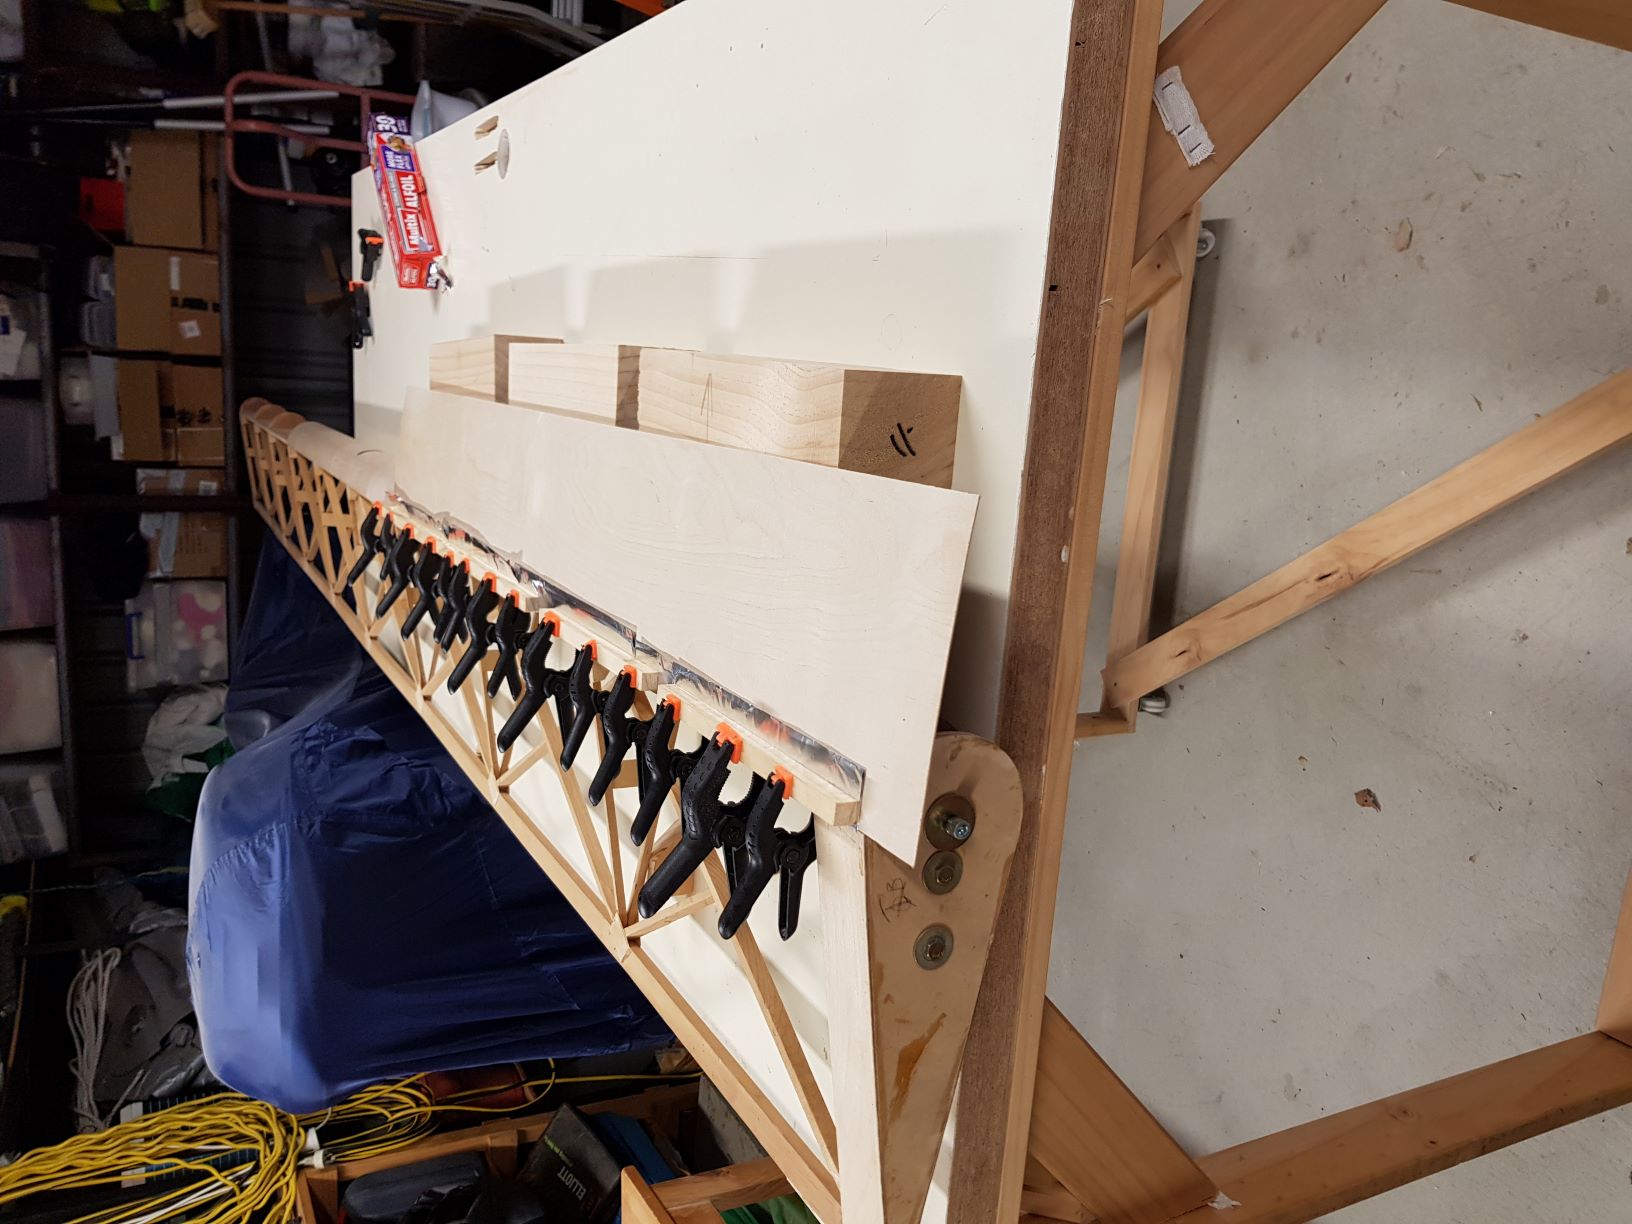
The Ply Wood installation was my biggest worry. The wing Ply worked out good but the aileron seemed so much more finicky. For the aileron we did the following steps.
- After gluing the ribs we used a long sanding board that spanned 3 ribs and sanded the ribs to try and get even rib standout from the front spar.
- Then we glued the ply on one edge and let that set for approx 24 hrs.
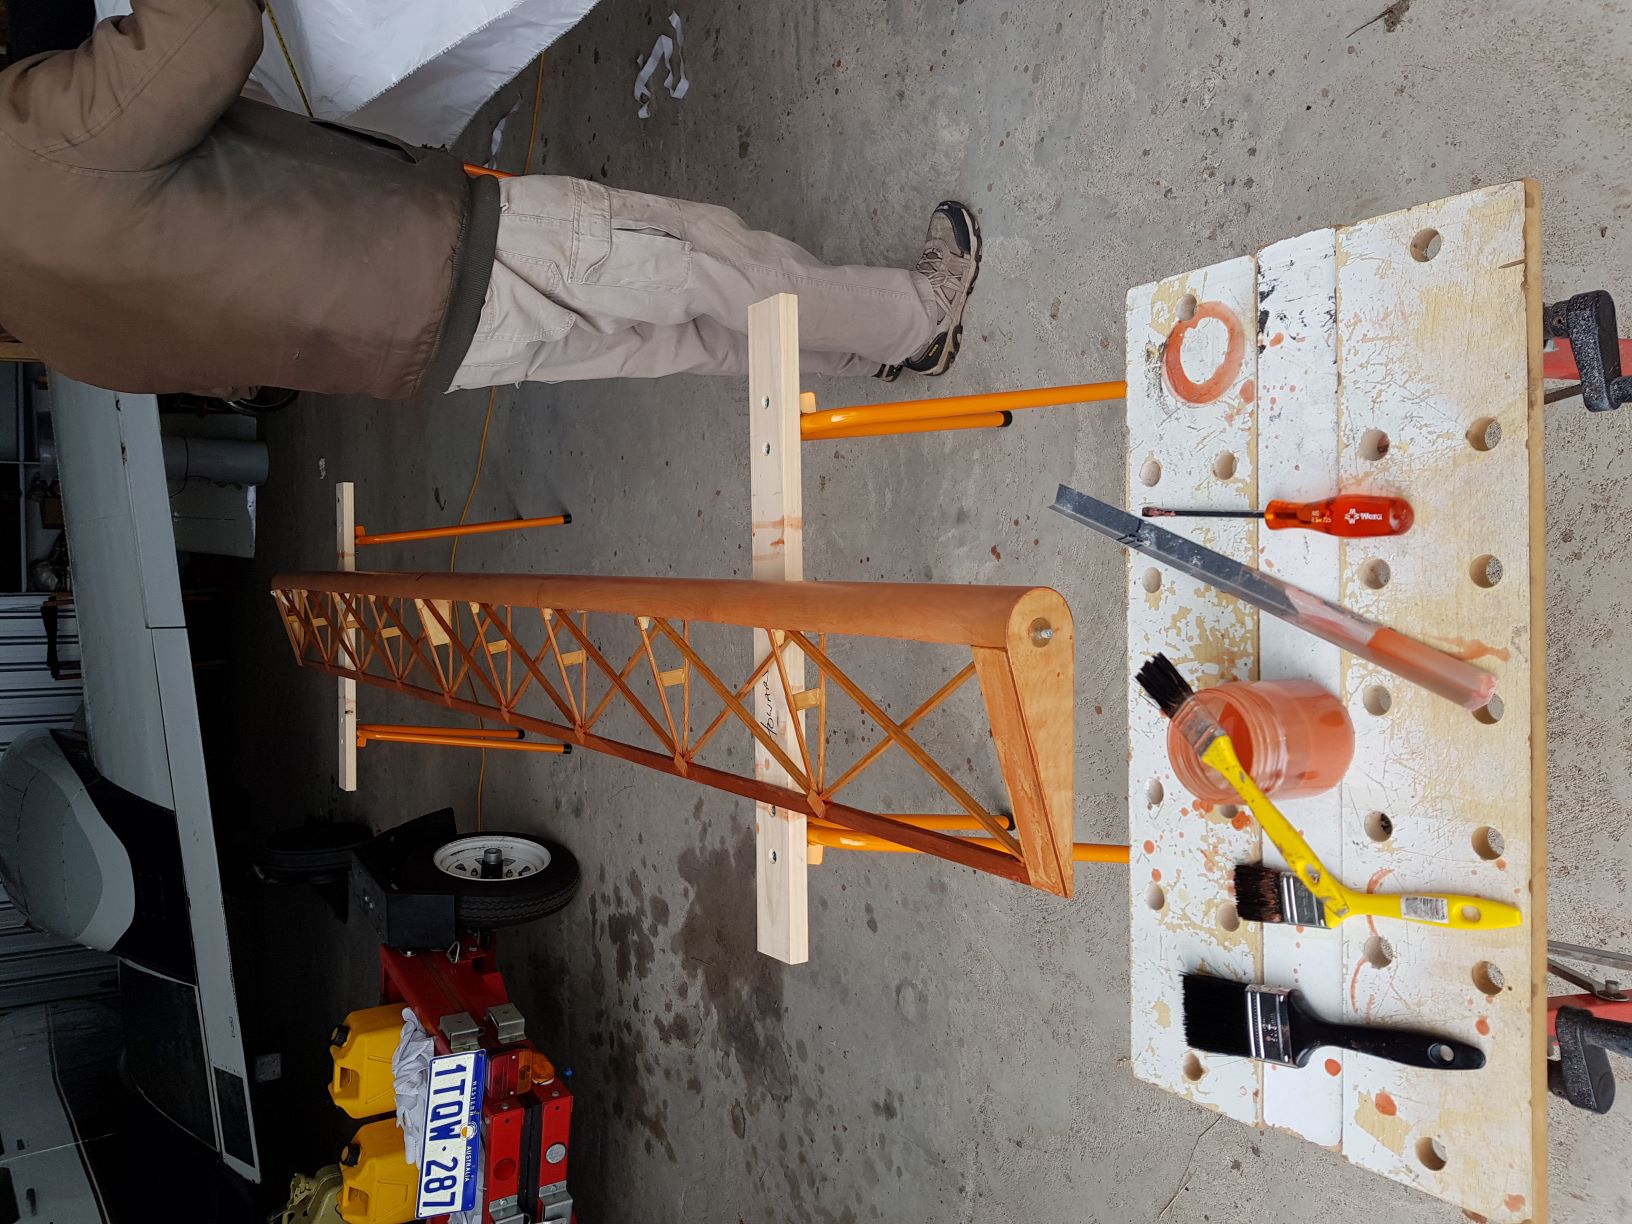
- Then we marked out glue contact areas on ply and applied 2 coats of varnish over 2 days.
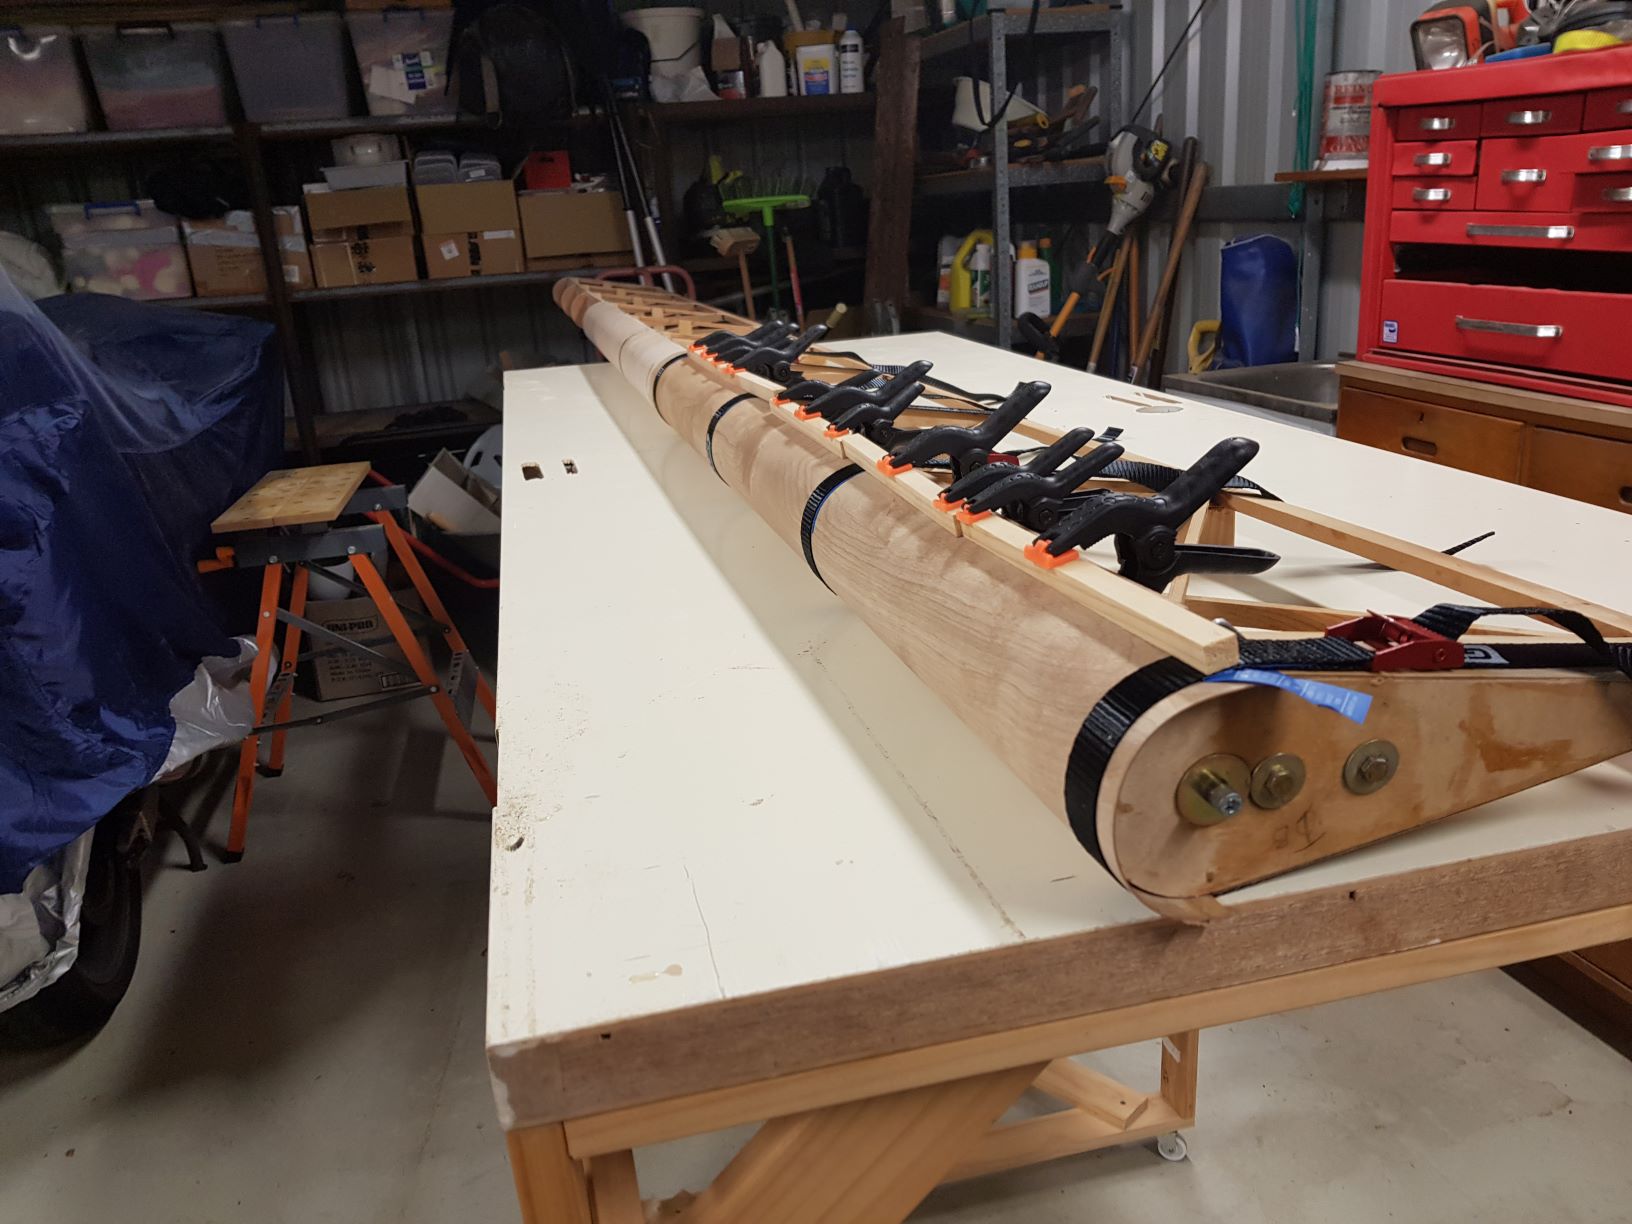
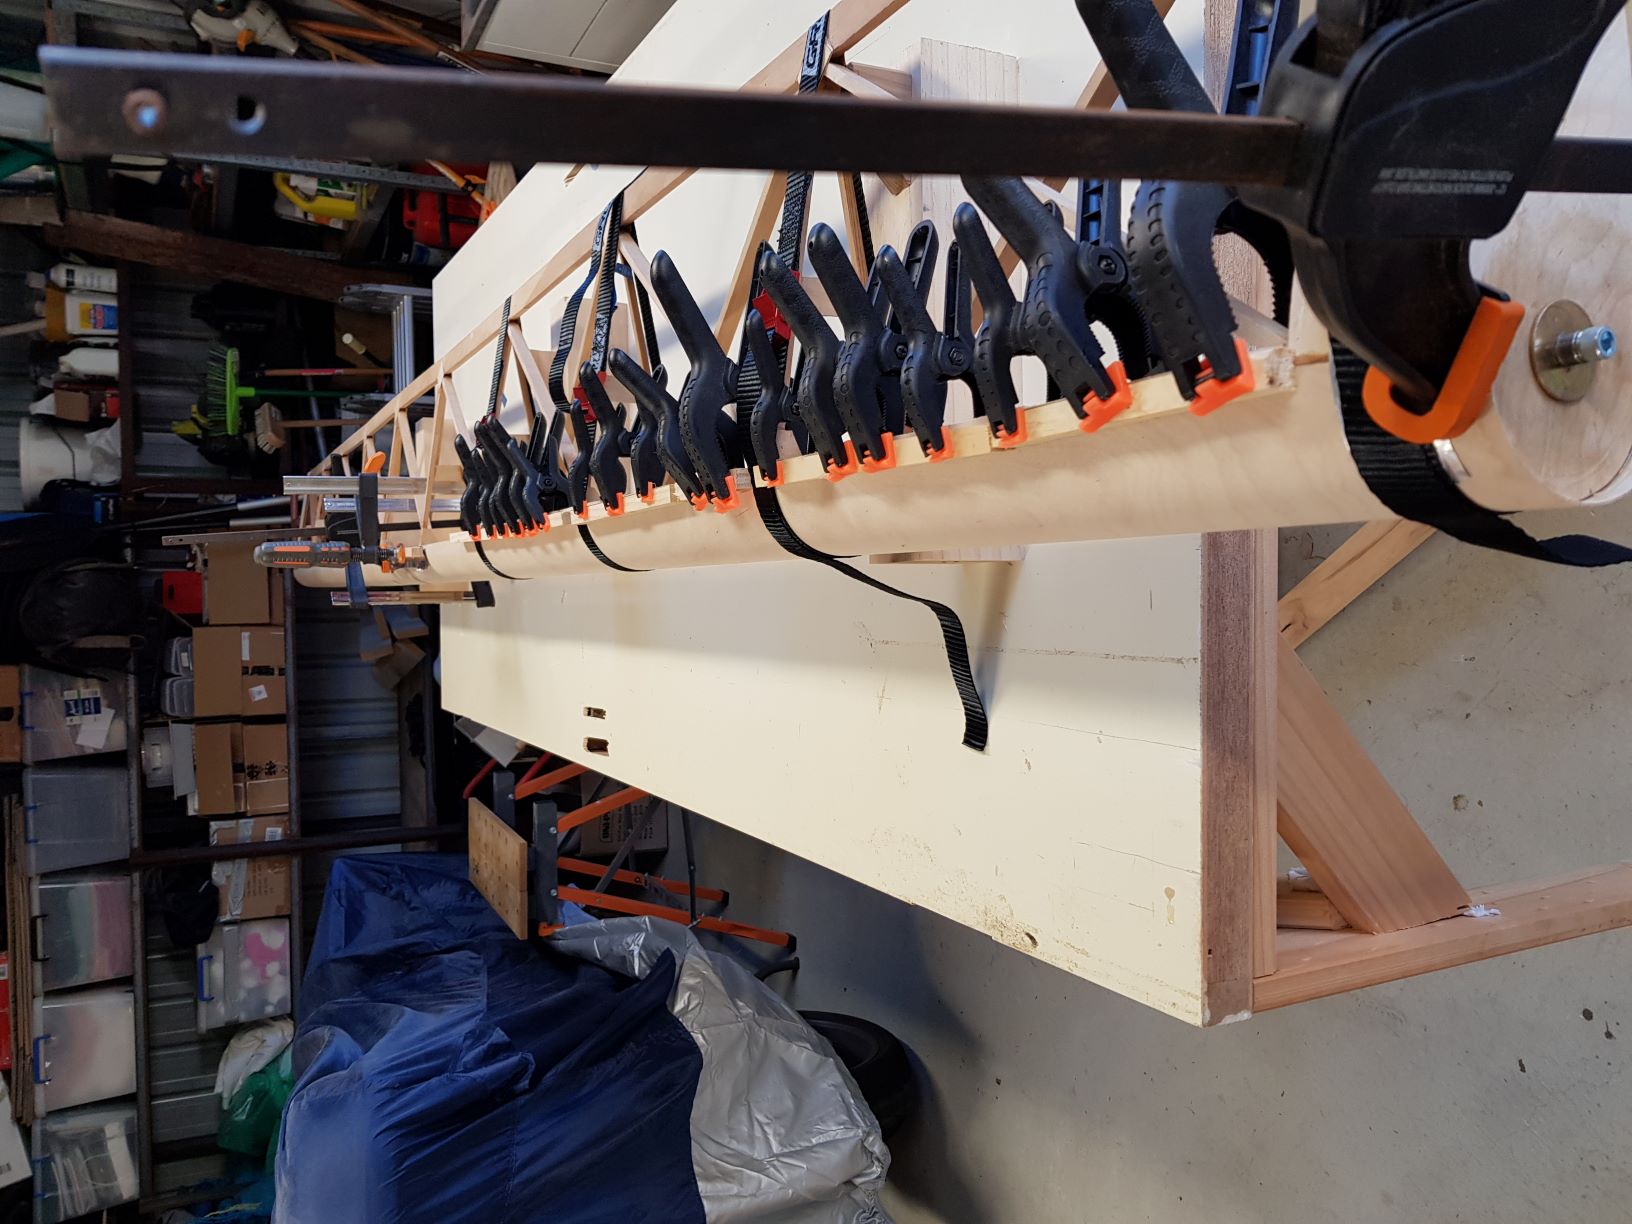
- Then we boiled a pot of water and pored it over the Ply and bent the Ply around the ribs and clamped in place and let it dry for approx 24 hrs.
- Then we applied glue and re clamped the Ply in place.
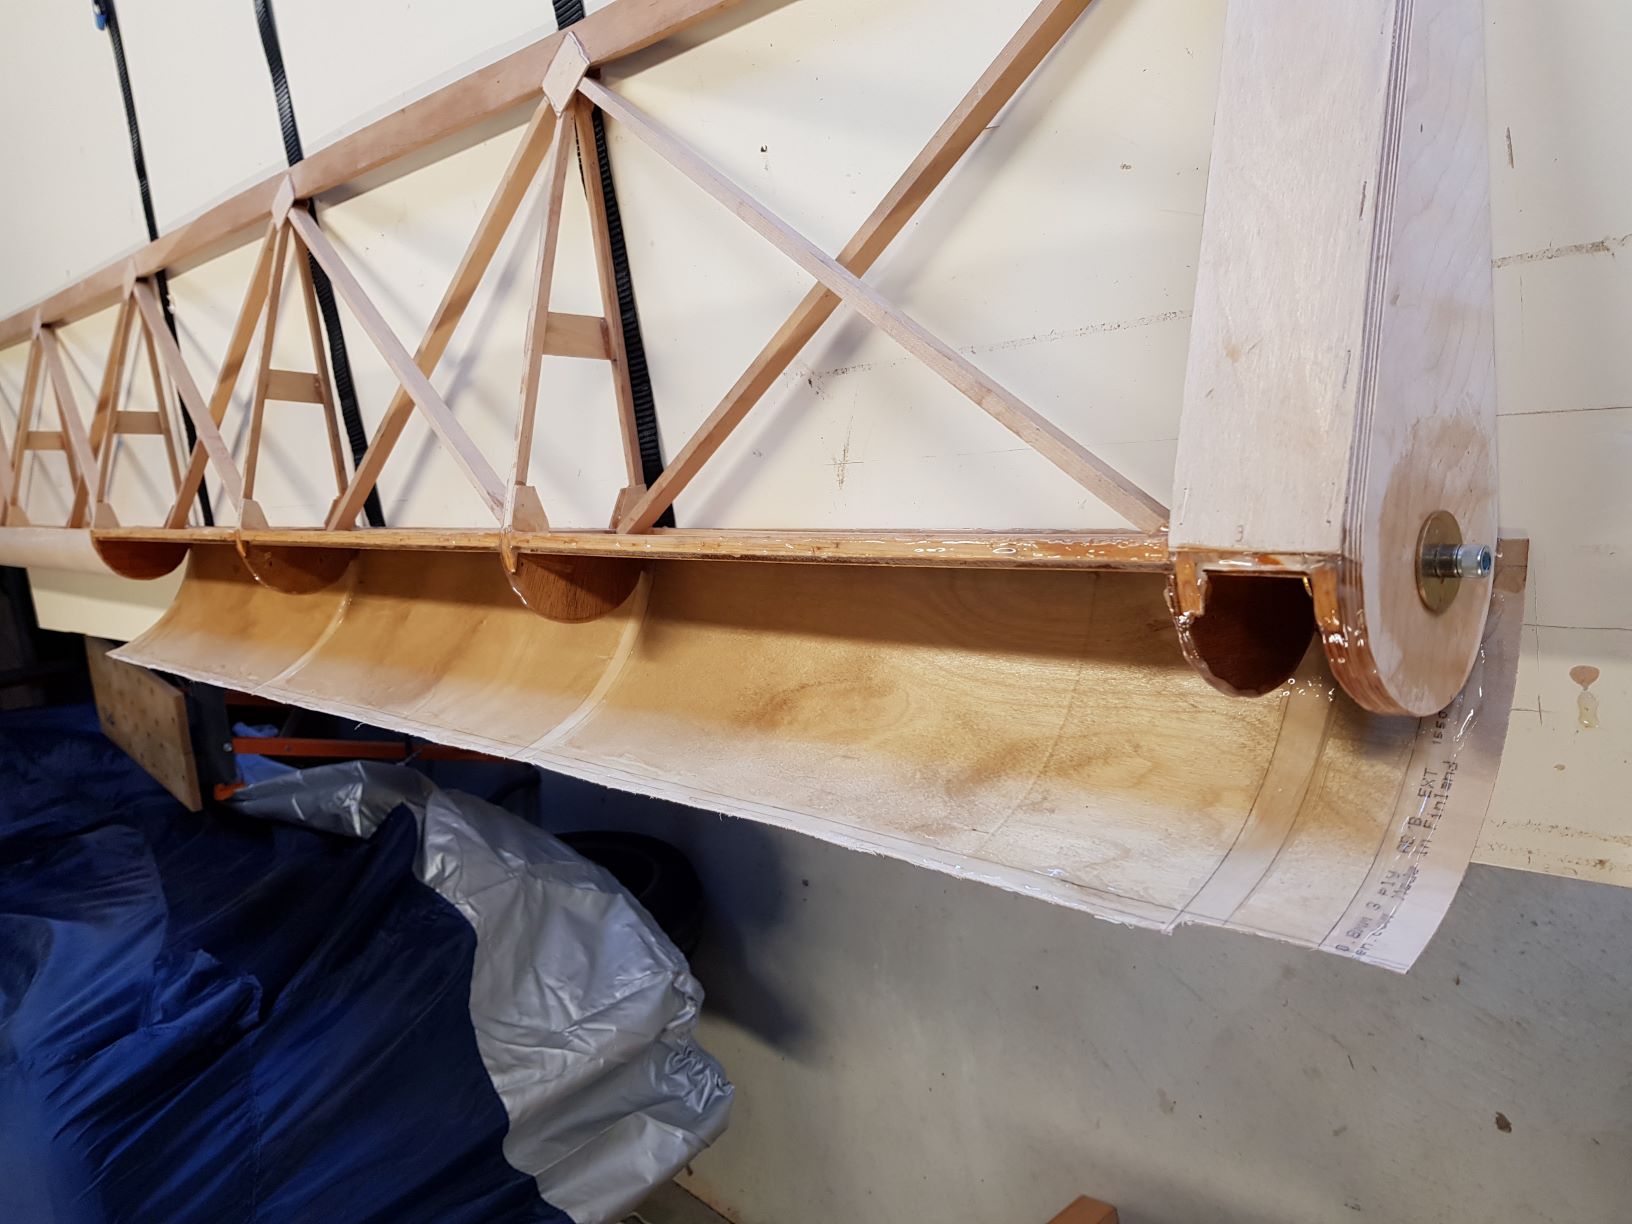
- After the glue had set we trimmed all excess Ply and sanded smooth.
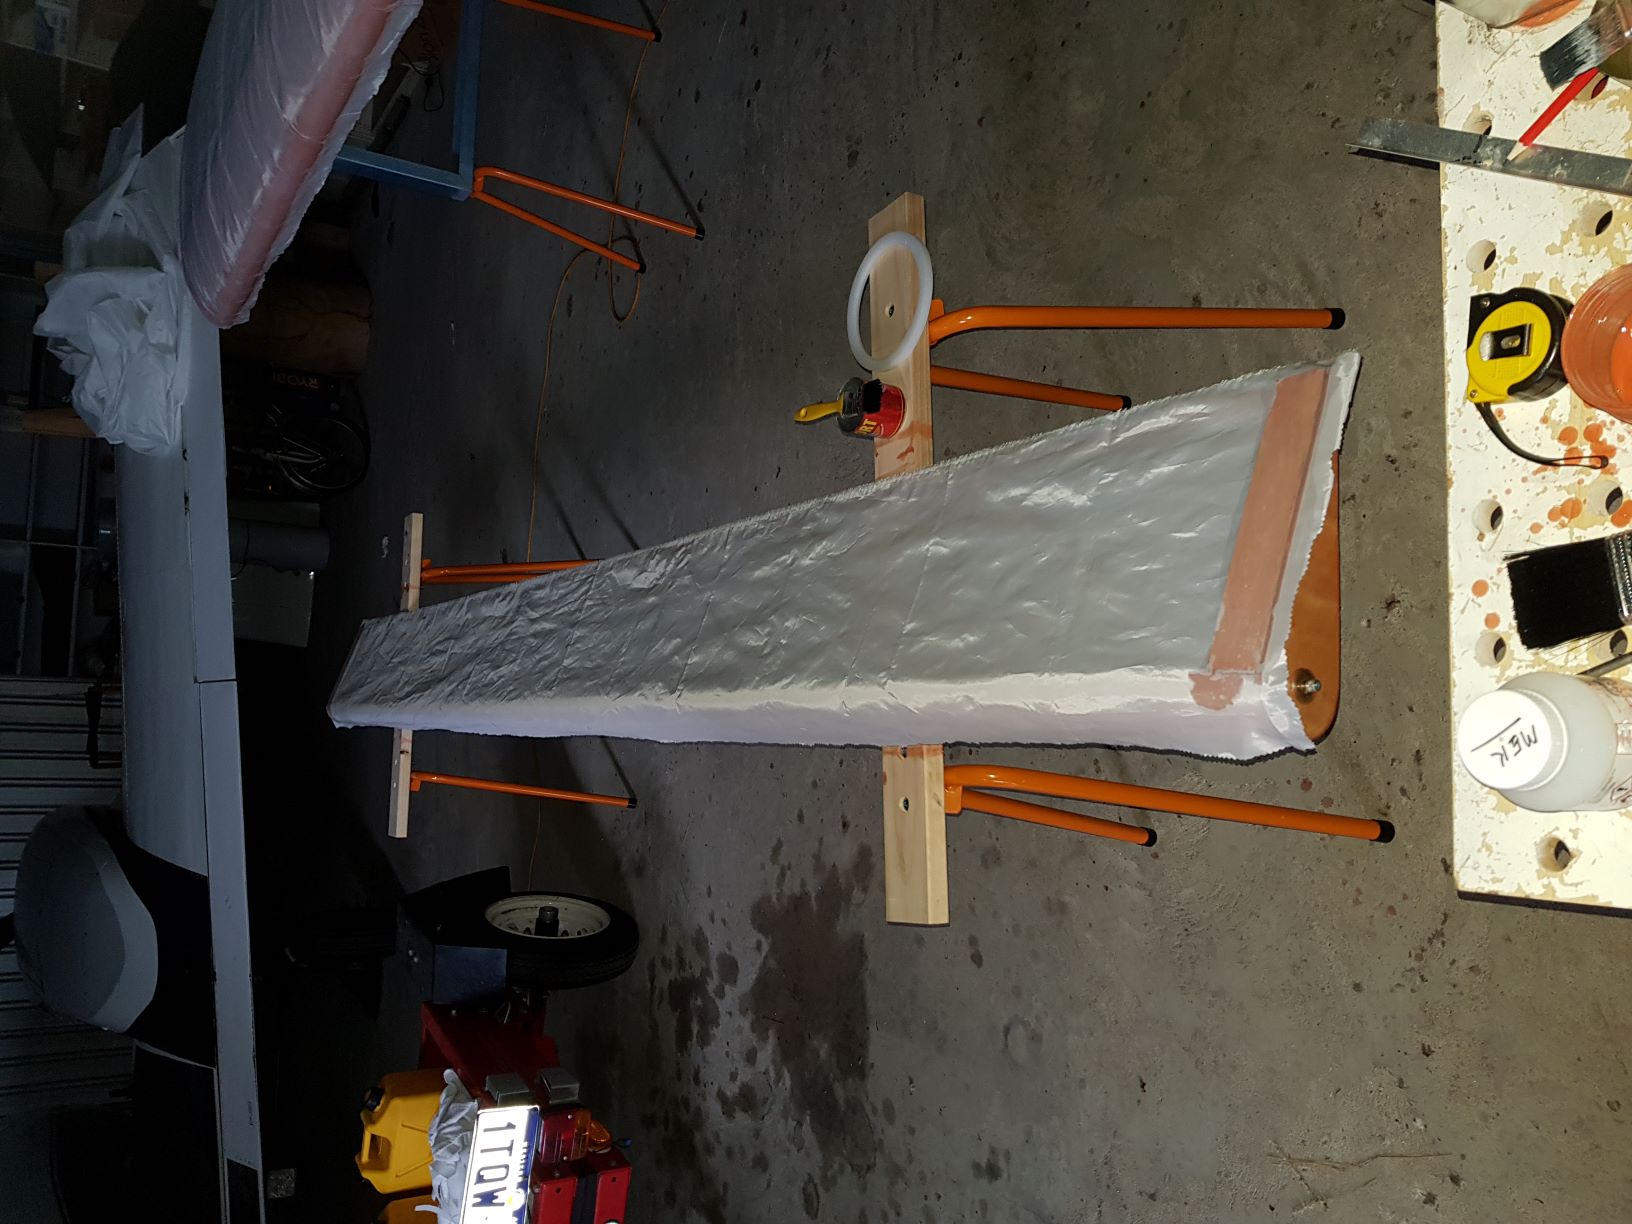
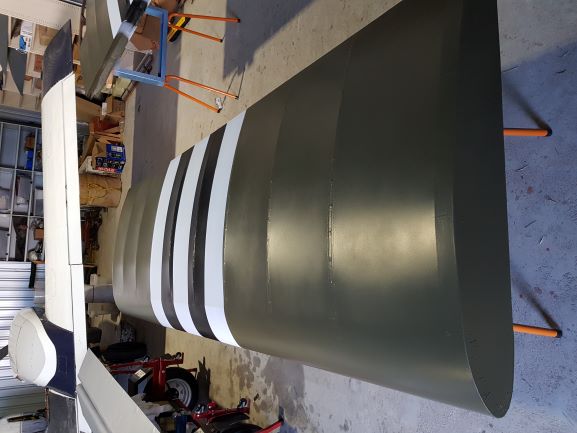
We are using the Poly Fibre System for covering our aircraft. It has been very nice to work with.
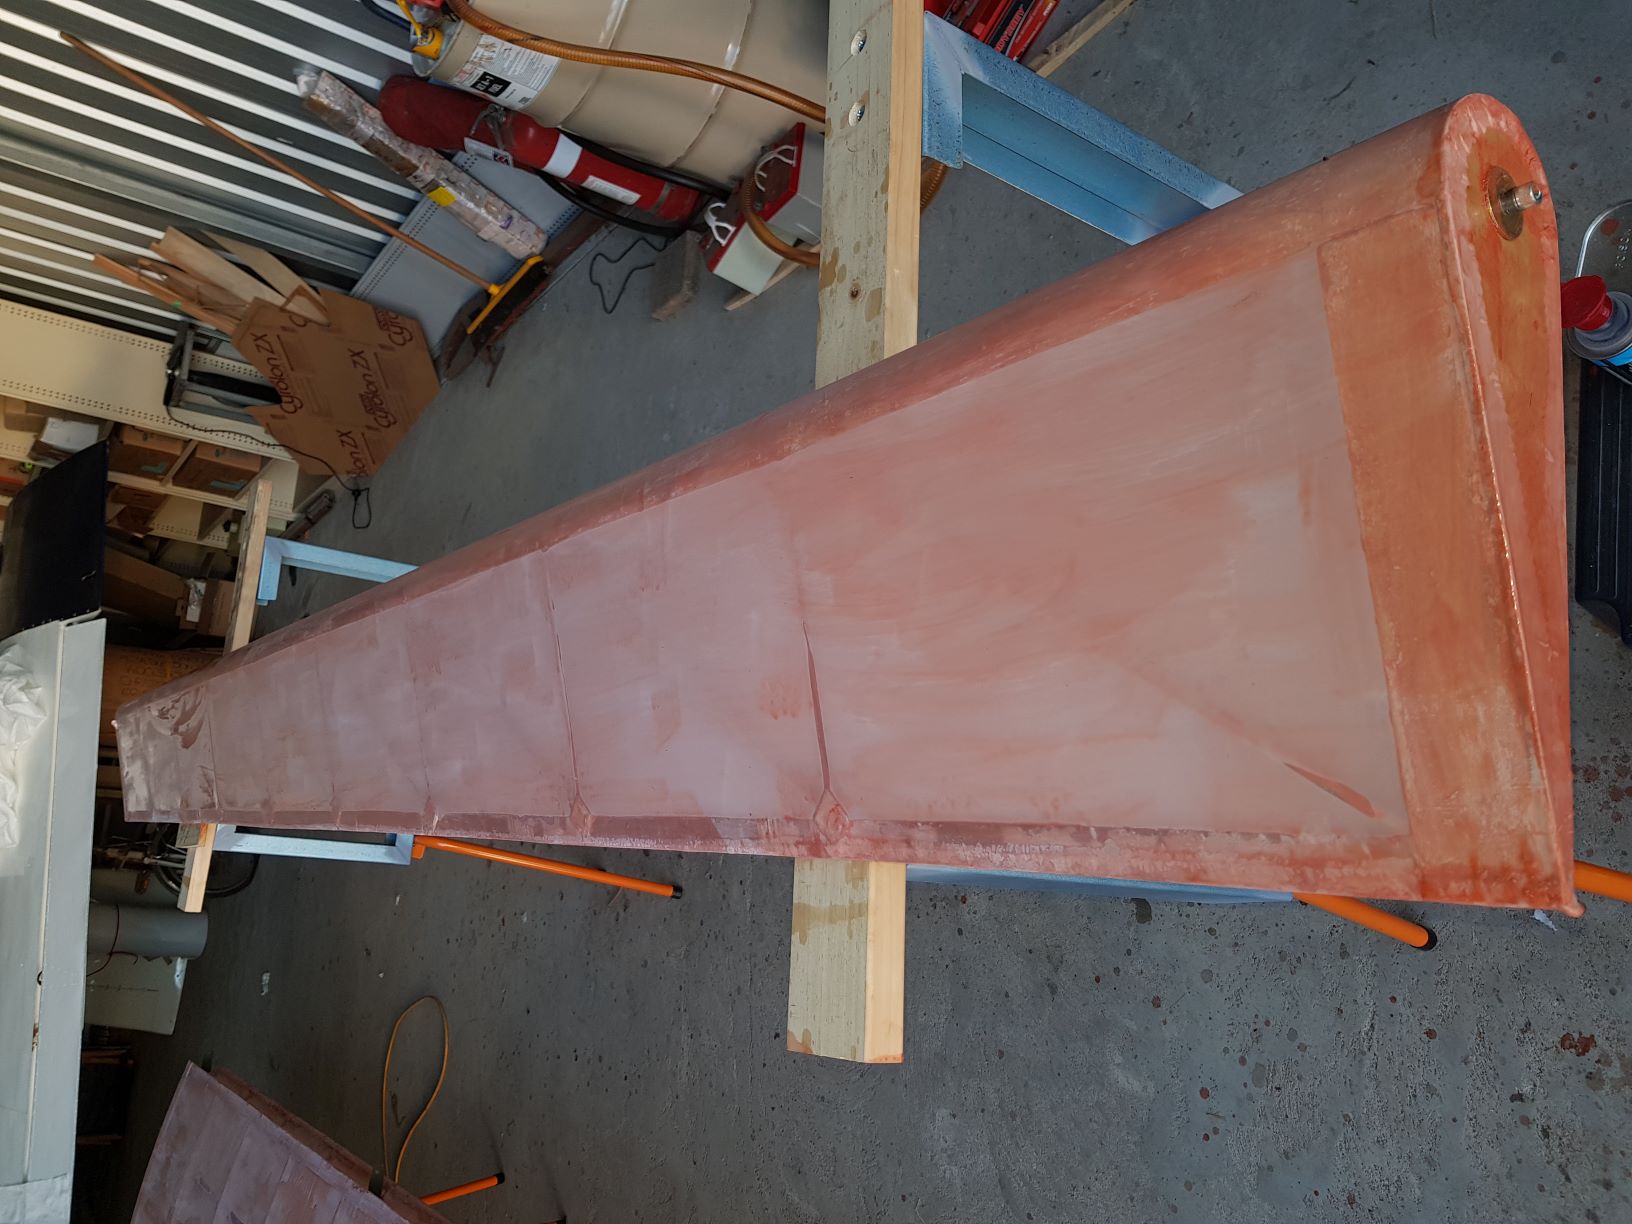
The aileron was varnished with an Epoxy Varnish over the whole structure and then coated with a couple of coats of Poly Brush. Then we applied Poly Tak to all the fabric securing areas and layed out the fabric and wetted through the Poly Tak.
Once it had dried we did an initial ironing job at 250F to snug up the fabric and then did another pass at 350F for the final tensioning of the fabric. After this we rib stitched the fabric, which was actually very enjoyable once we got the technique sorted out (courtesy of Poly Fibre video on Youtube), and covered the stitching with fabric strips.
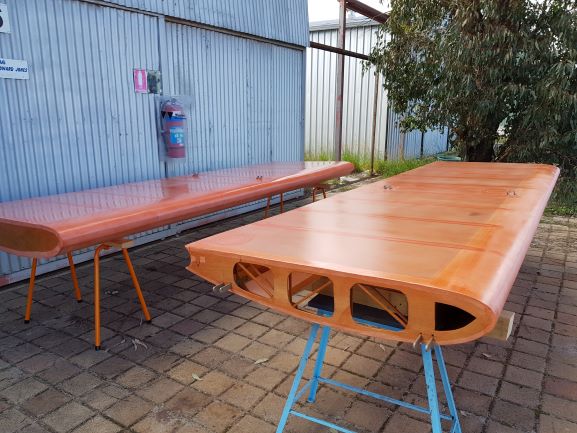
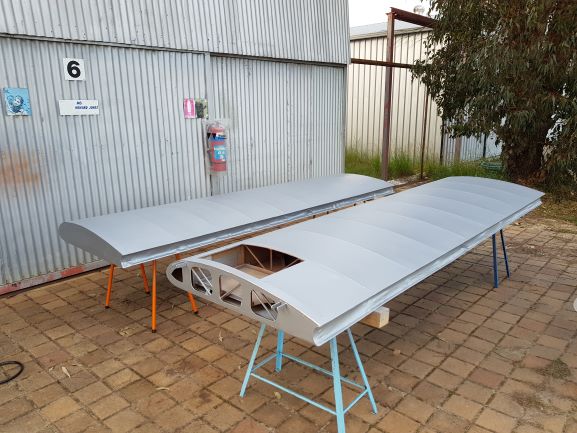
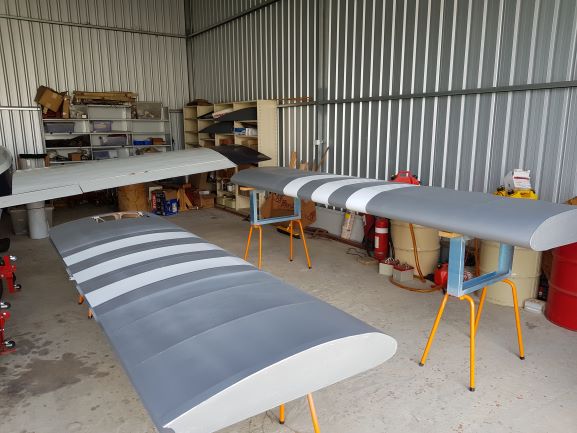
We have now basically finished with the wings and ailerons so next will be to attach to the fuselage.
Cheers, Mick
A bit of an update on the Birdog build here in Western Australia.
The l/h aileron has been the focus of our efforts and we are almost there.
The Ply Wood installation was my biggest worry. The wing Ply worked out good but the aileron seemed so much more finicky. For the aileron we did the following steps.
- After gluing the ribs we used a long sanding board that spanned 3 ribs and sanded the ribs to try and get even rib standout from the front spar.
- Then we glued the ply on one edge and let that set for approx 24 hrs.
- Then we marked out glue contact areas on ply and applied 2 coats of varnish over 2 days.
- Then we boiled a pot of water and pored it over the Ply and bent the Ply around the ribs and clamped in place and let it dry for approx 24 hrs.
- Then we applied glue and re clamped the Ply in place.
- After the glue had set we trimmed all excess Ply and sanded smooth.
We are using the Poly Fibre System for covering our aircraft. It has been very nice to work with.
The aileron was varnished with an Epoxy Varnish over the whole structure and then coated with a couple of coats of Poly Brush. Then we applied Poly Tak to all the fabric securing areas and layed out the fabric and wetted through the Poly Tak.
Once it had dried we did an initial ironing job at 250F to snug up the fabric and then did another pass at 350F for the final tensioning of the fabric. After this we rib stitched the fabric, which was actually very enjoyable once we got the technique sorted out (courtesy of Poly Fibre video on Youtube), and covered the stitching with fabric strips.
We have now basically finished with the wings and ailerons so next will be to attach to the fuselage.
Cheers, Mick